
How to Install an Air Dry Clothesline
This page will show you everything required to install an Air Dry Folding Frame Clothesline.
Key Points to Note
- Do not open the arms until they are installed on the wall
- Install 50 to 100mm above the head of the person who uses it most — take into account the slight upward slope of the clothesline
- The face of the bracket which has the "wall side" sticker must face the wall
- Place the wall plug through the wall bracket, not behind it
- Once the brackets are tightened, open the arms
- Assemble the spreader bar and insert into the arms
- Gently tap the arms to ensure the spreader bar is completely inside the arms
- Leave approximately 20cm of cord hanging when you start threading — you will use it later
- Tension all the lines by pulling them toward you and take up the slack using the 20cm cord left hanging
- Do not tension the lines like a piano or guitar string as you may damage the clothesline
- Ongoing maintenance will require you to re-tension the cord if or when it sags
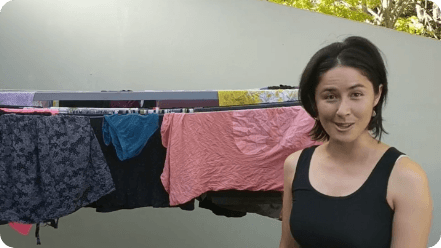
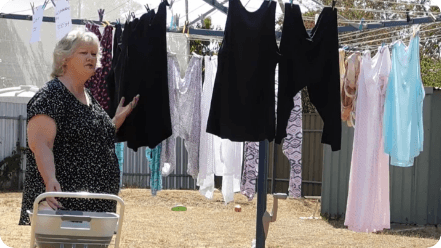
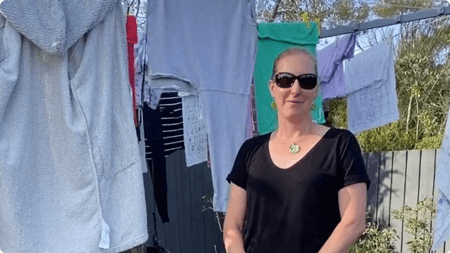
The videos below show how to install the Air Dry wall mounted clothesline and tension the cord.
How to select the right clothesline — Buyers Guide: Click Here
Product Instruction Manuals
Click the links below for the Air Dry installation instructions.
Ready Made
2400 & 3000 Wall Mount: Click here for instructions
Ground Mount Kit: Click here for instructions
Base Plate Kit: Click here for instructions
Made to Order
2400 & 3000 Wall Mount: Click here for instructions
2400 & 3000 Ground Mount: Click here for instructions
2400 & 3000 Twin Wall Mount: Click here for instructions
2400 & 3000 Twin Ground Mount: Click here for instructions
Made to Order Options
Low Line Attachment: Click here for instructions
Base Plate Kit: Click here for instructions
How to Install an Air Dry Clothesline
How to Open and Close The Air Dry Clothesline
How to Tie The Cord
How to Reduce the Width
Frequently Asked Questions
How high should I install my air-dry clothesline?
Install the Air Dry clothesline 50 to 100mm above the head height of the person who uses it most. Keep in mind the slight upward slope of the clothesline when measuring your install height.
Can I open the arms before installing the clothesline on the wall?
No. Always install the brackets on the wall and tighten them fully before opening the arms. Opening the arms before installation may cause damage.
How do I tension the cord correctly?
Leave approximately 20cm of cord hanging when you begin threading. Once all lines are threaded, tension them by pulling toward you, then use the 20cm of cord left hanging to take up any remaining slack. Never over-tension — do not pull the lines as tight as piano or guitar strings.
What do I do if the cord sags over time?
Re-tensioning the cord is normal ongoing maintenance. Simply pull the lines toward you again and take up the slack using the cord tail. This will restore the clothesline to its correct tension.
Which way does the wall bracket face?
The face of the bracket marked with the "wall side" sticker must face the wall. Place the wall plug through the hole in the wall bracket — not behind it.
Can I reduce the width of my Air Dry clothesline?
Yes. The Air Dry clothesline can be adjusted to a narrower width to fit tighter spaces. Watch the "How to Reduce the Width" video above for a full walkthrough.
Clothesline Popular Categories
-
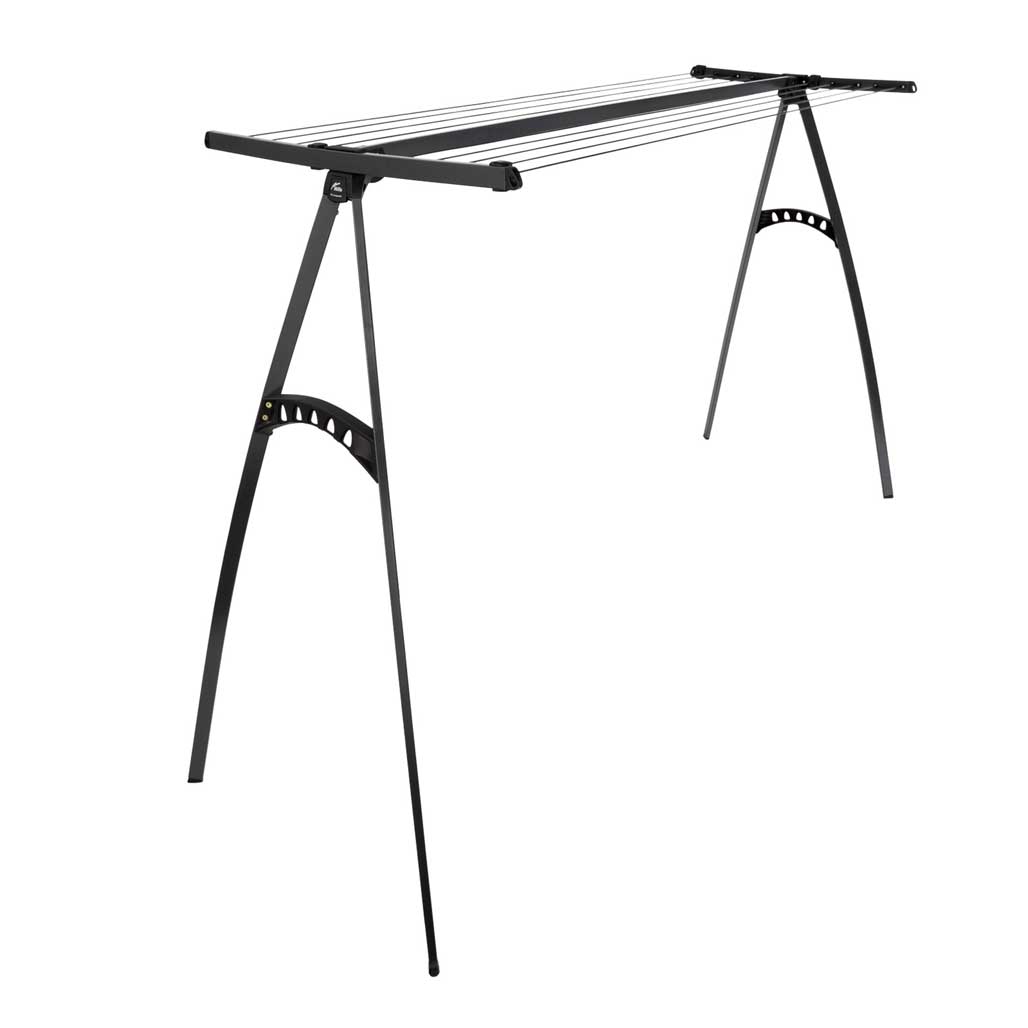
Folding Frame
Discover MoreA very popular clothesline that comes in a large range of colours and sizes and can be installed on a wall or be ground mounted perfect saving space.
-
Portable Clothesline
Discover MoreThese are excellent as a second line or unit line and comes in a range of styles and designs and are excellent for indoor and outdoor use.
-
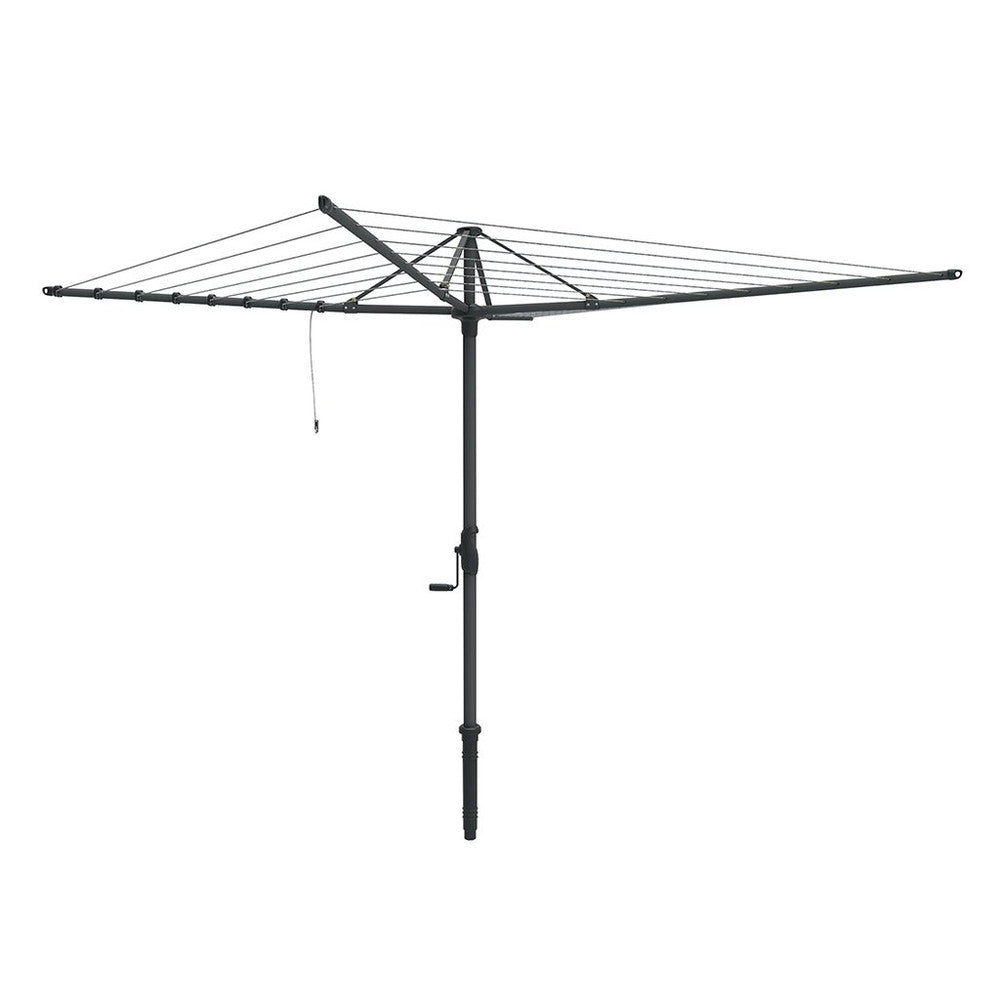
Folding Rotary
Discover MoreThese are clothes hoists which come in multiple colours and the head can fold up when not in use and they can be removed from the ground.
-
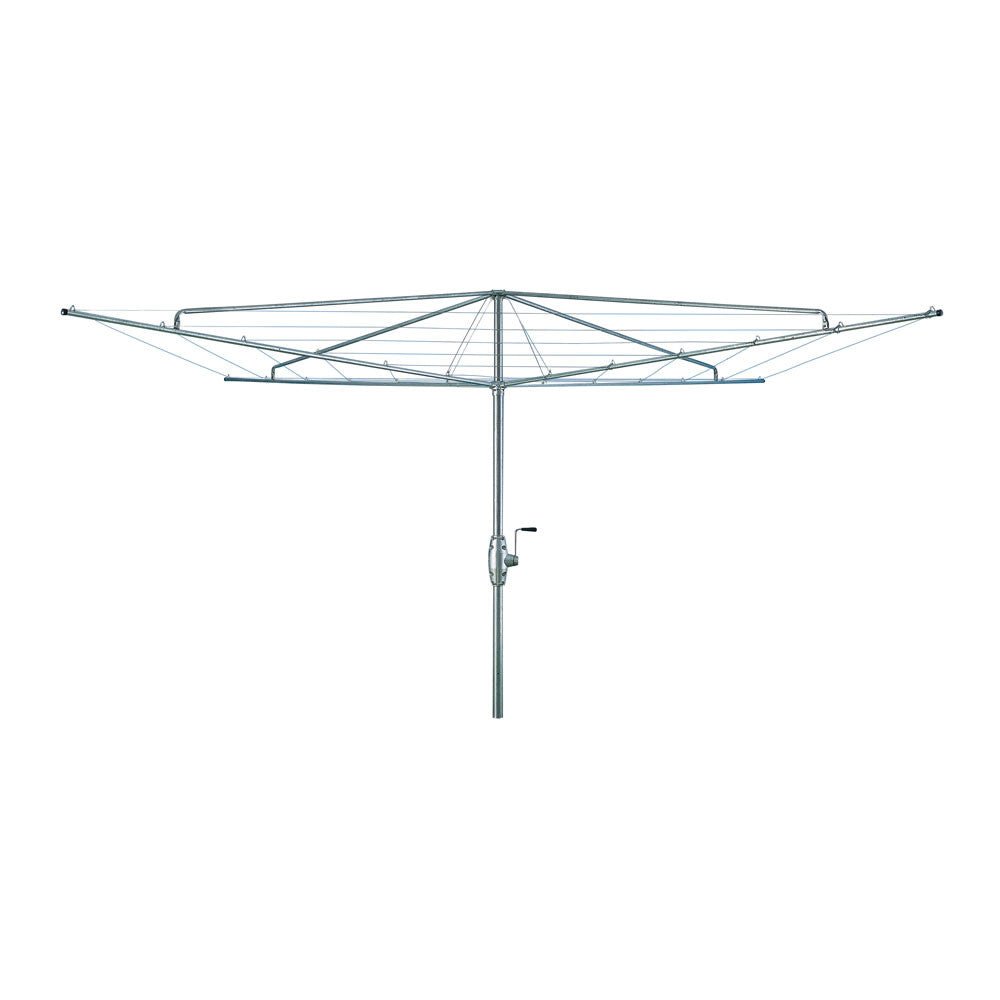
Fixed Rotary
Discover MoreThis range includes the traditional Hills Hoist which has a fixed head with a metal framed which can not be folded or removed.
-
Retractable
Discover MoreThese are ideal for narrow spaces or when space is a premium, you get a large hanging area and the ability to retract the line when not in use.
-
Indoor Airers
Discover MoreThese are a range of products that are excellent for saving space or having as a second line for those rainy days.


Explore our impressive selection of clothesline products and
brands, featuring innovative drying solutions and accessories
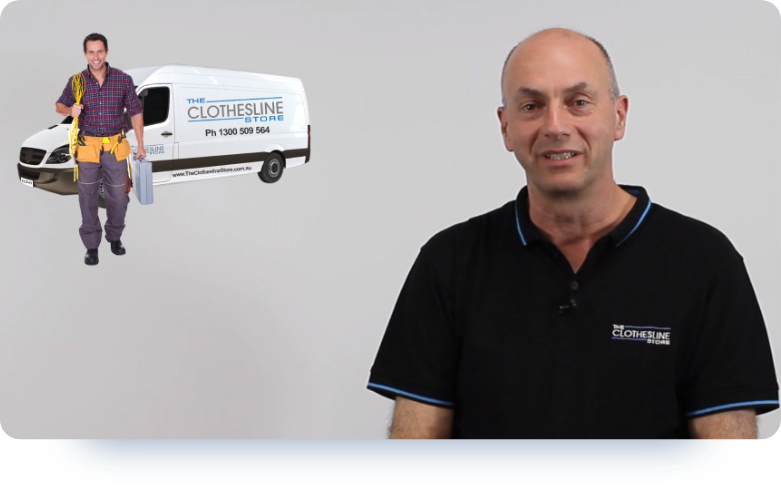
Why Not Let One of Our
Professionals Install It for You?
If you are looking for a professional clothes Hoist or Clothesline installation or installation and removal service, we have you covered. Our professional clothesline installers can install your new clotheslines and remove and take your existing one if required.
For all the details of what's included in the clothesline installation and removal services and to see if your area is covered , click here for more detailed information on the installation service.
Some Valuable Resources
Our Happy Customers
Popup privacy Heading
Privcy Text
- Choosing a selection results in a full page refresh.
- Opens in a new window.