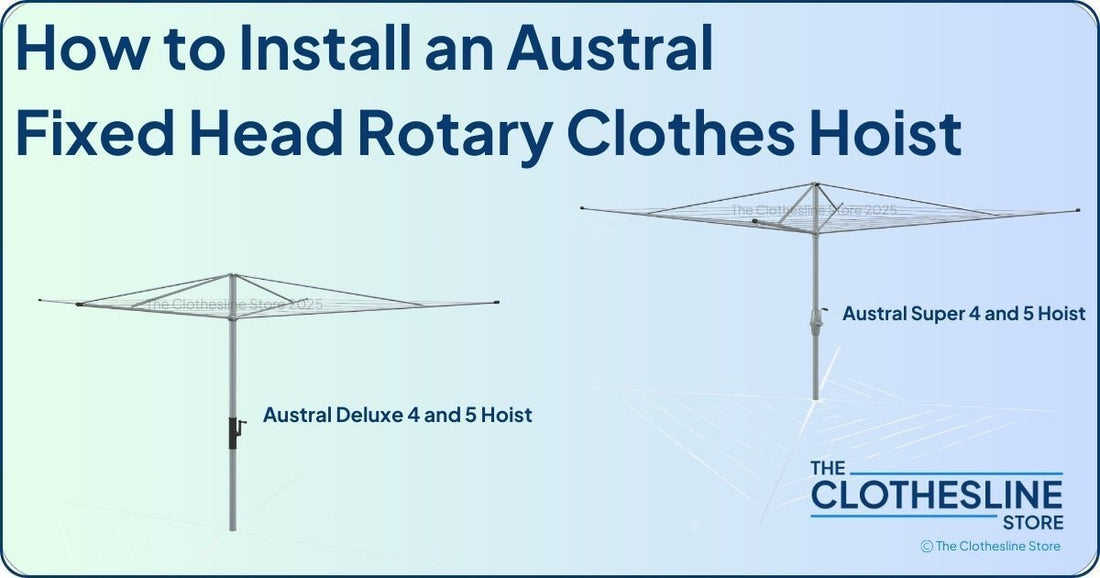
Austral Rotary Clothes Hoist Installation Guide
The Austral Rotary Clothes Hoist is built for durability and designed to provide years of reliable use.
To ensure a successful installation and maintain your warranty, it’s important to follow these instructions carefully. Incorrect installation may damage your hoist and void your guarantee.

Table of CONTENTS
Top Tip.
Before you begin, make sure to read through the installation instructions for your new Austral Traditional Hoist. This is the best way to ensure a smooth installation process and to avoid any errors.
While reviewing the instructions, check off the contents of the box to confirm that all parts are included. This is also the perfect time to ensure you have the right tools on hand, so you're ready to start the install without any delays. Proper preparation will make the installation much easier!

Equipment Required
Spirit level
Crowbar
Shovel
Screwdriver
Pliers
Concrete
Drainage gravel
Tape measure

Check Off Parts List
The parts list is extensive for a traditional hoist clothes line please check this list prior to commencing installation.
Site Selection & Digging (Steps 1-3)
Important: Before digging, ensure the area is clear of electrical, gas, plumbing services, etc. For safety, check Dial Before You Dig and consult any relevant architectural drawings.

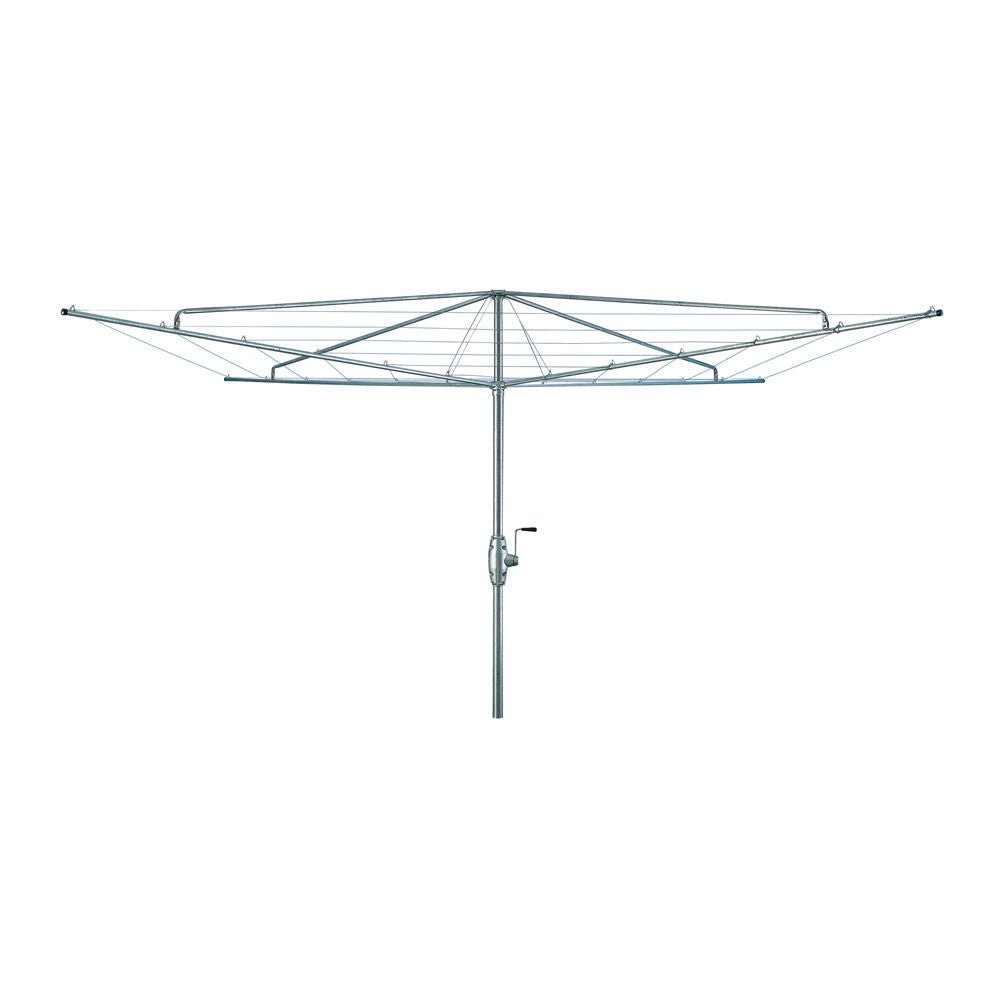
Choose Your Site
Select a location for your hoist that allows for 1 meter clearance around the end of each arm, which is 2 meters more than the hoist’s diameter (image is for guidance).

Prepare the Handle
Insert the Handle Shaft through the Handle Grip, then tap the handle into the hole on the Handle Arm while supporting the arm behind with a chock .

Turn the handle anti-clockwise to wind the hoist down to its lowest position. For Deluxe models, attach the Handle Cover.
Dig the Hole
At the centre of your chosen site, dig a hole with a diameter of 150-200mm. The hole should be deep enough that when the Column is positioned upright, the Reducer is level with the user’s head height.

For the correct depth, 550mm is recommended, which will result in the Cross being about 1700mm high and the outer lines about 1850mm high when the hoist is fully wound down. Once the hole is at the correct depth, allow the Column to lean slightly over and rest in the hole.
Deluxe models only:
Remove the Column from the hole and insert the Steel Rod through the pre-drilled holes at the base. Place the Column back into the hole.
Note: The Super models use a crimped bottom tube instead of a Steel Rod for a secure fit in concrete.
Head Section Assembly (Steps 4-5)
Tip: If you prefer to concrete the Column first, skip to Concreting (Steps 11-12). Allow concrete to cure for 48 hours before continuing with assembly.
Attach the Arms and Stays
Place the Arms into the Cross and let them rest.

Insert a 20mm x 6mm Bolt through a 6mm Washer and secure through the top of the Top Cap.

Attach one end of the Tubular Stay to the underside of the Top Cap using a 6mm Nylon Lock Nut
Using the punched holes on the Arms that are perpendicular to the others, attach the curved end of the Tubular Stay to the Arm with a 35mm x 6mm Bolt and a 6mm Nut.

Repeat for the remaining arms and tighten all bolts after all arms and stays are securely attached.
Adjust the Arms for Horizontal Alignment
The wire holes on the Arms must be horizontal. To adjust, insert a screwdriver through the wire holes and use it as a lever to rotate the Arm until it’s horizontal.
Repeat for the other arms.
Wind the hoist up slightly (about 150mm for 4m hoists or 100mm for 5m hoists) to loosen the Bolt in the Cross.

Slide the Cross down to meet the Reducer/Breeze Brake.
Thread the Wire
Start by threading the wire through the outermost hole on each arm.

Once you reach the start, thread the wire through the same hole again.

Bend the wire tail around the arm and back on itself.

Walk around to straighten any kinks in the wire. Cut the wire so that a 200mm tail remains.
Use pliers to pull the loose end tight while pushing the arm with your other hand.

Once taut, bend the loose end under the arm and twist it around itself.
https://www.theclotheslinestore.com.au/collections/fixed-rotary-clothes-hoist
Twist the ends around 3-4 times and cut the excess, ensuring the ends point downward.

Note: Be sure to tension the wires progressively, from outer to inner lines, as you tighten.

Check Alignment of Arms
Stand at the end of each arm and sight along the arm toward the opposite arm. Ensure the distance between arms is approximately 90 degrees. Tap the arms sideways to correct alignment if needed.

Repeat for Remaining Lines
For each remaining line, repeat Step 7 but wire them in the opposite direction to prevent uneven tension (e.g., clockwise, counterclockwise, etc.).
Final Tension and Tighten
After all lines are wired and tied off, return the Cross to its original position, which will further tension the wires.

While pulling down on the Top Cap, wind the Column all the way down. Ensure the Arms and Cross line up with the holes in the Top Cap, then tighten the bolt in the Cross.
Finally, fit the 4 Round End Caps.
Concreting (Steps 11-12)
Mix the Concrete
Mix concrete in the ratio of 4 gravel, 2 sand, and 1 cement or use premixed concrete bags. The mix should be fairly dry, just wet enough to hold together.
Add 50-100mm of drainage gravel at the base of the hole.

Pour and Pack Concrete
Pour the concrete into the hole until it reaches 20mm below ground level.
Stand the Column upright, using a spirit level to check it is plumb.
Tamp the concrete with a crowbar or similar tool to remove air pockets.
If the concrete level drops, top it back up, ensuring it stays 20mm below ground level.
Check the column is plumb and packed tightly. Finish by filling the last 20mm with soil and gently patting it down.
DO NOT USE or TOUCH for 48 HOURS to allow the concrete to set.
Professional Clothesline Installation Service
If you’re not keen on installing your new clothesline at The Clothesline Store we make clothesline installation incredibly easy, with our professional clothesline installation service that ensures your clothesline is set up effortlessly.

Whether you’re choosing a fold down mounted, retractable, or a folding rotary clothesline our expert installers are ready to help across the East Coast of Australia, including Sydney, Melbourne, Brisbane, Adelaide, and beyond—covering areas like Geelong, the Gold Coast, and Newcastle for all outdoor clothes line installations.
To book your clothesline installation service, simply select "Yes, Install My Clothesline" (or "Yes, Install and Remove Old Clothesline") when placing your order.
Pick your clothesline, choose the clothesline installation option, and you’re on your way to having your new clothesline installed!
Top Tip:
Not all clothesline retailers offer clothesline installation services, if clothesline installation or clothesline removal is important to you, make sure these services are available before purchasing!

Maintenance & Tips for Longevity
-
Do not swing on the clothes hoist!
-
Engage the Breeze Brake when hanging washing to prevent spinning.
-
Regularly check and tighten nuts and bolts.
-
Lubricate the gearbox with nylon-safe grease if the hoist becomes difficult to wind.
-
If ants infest the gearbox, apply grease, but clean out any dirt first.
-
For stiff winders, lubrication may be needed after years of use.
Free Delivery of Clotheslines
At The Clothesline Store, we guarantee the fastest dispatch to ensure the quickest delivery of clotheslines, by operating our own national clothesline warehouse. Don’t take our word for it—check out our Google reviews!

As Australia’s largest private stockholder of clotheslines and accessories, we ship in-stock items the same or next business day. Unlike other retailers who rely on third-party distributors, our dedicated team handles every order directly, ensuring speed and reliability.
With our extensive range of clotheslines stored in our own clothesline warehouse and national centres, we deliver faster and more consistently.