How to Install an Austral Fold Down Clothesline
A Step-by-Step Guide for Hassle-Free Installation
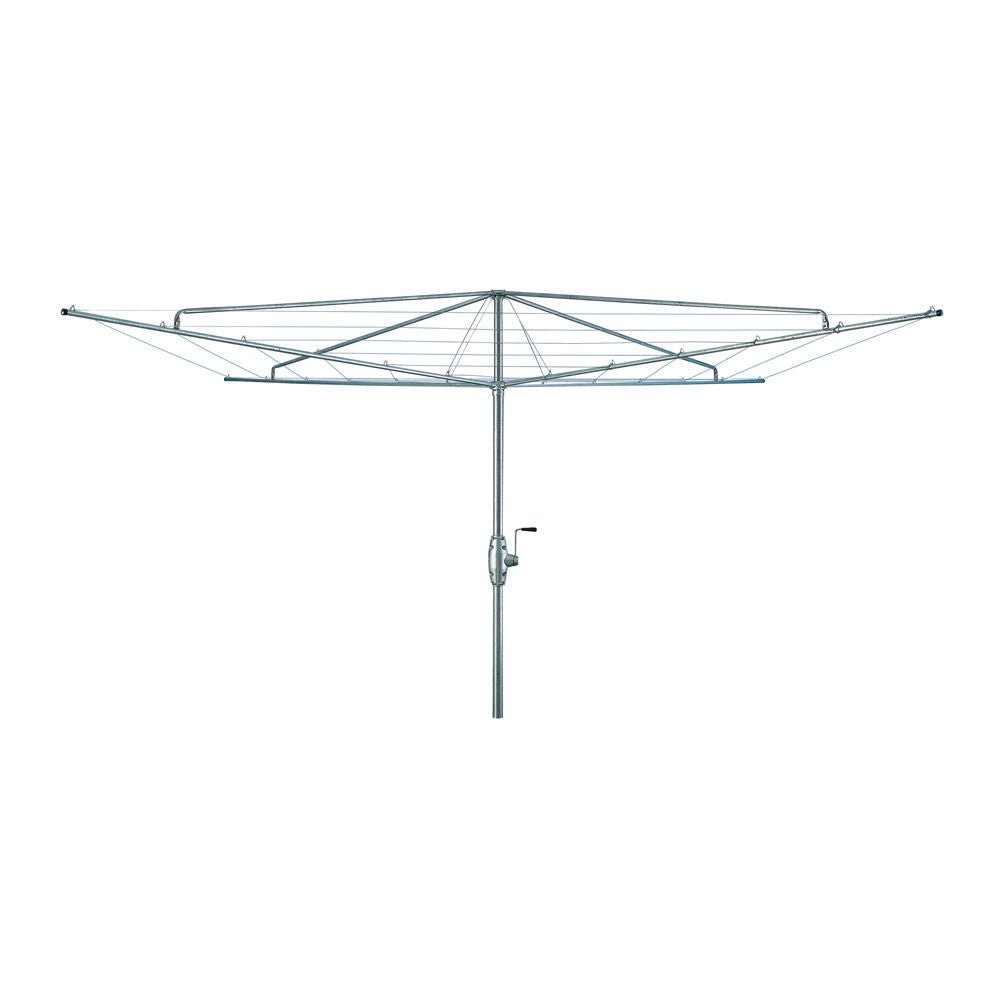
Installing an Austral fold down clothesline is simpler than most people expect, and with the right guidance, you can have yours ready for fresh air drying in no time.
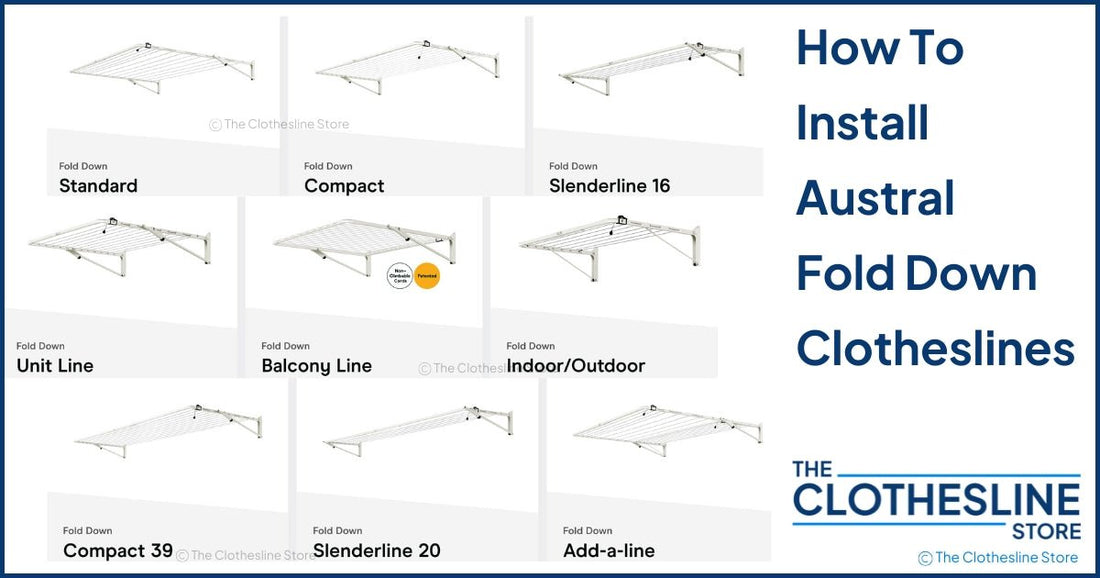
At The Clothesline Store, we supply a full range of Austral fold down clotheslines—perfect for saving energy, maximising outdoor space, and keeping laundry days hassle-free.
This step-by-step installation guide walks you through everything from choosing the right height and location to securely fixing your clothesline for long-lasting performance.
Whether you’re mounting to a wall or using a ground mount kit, you’ll have your new Austral clothesline ready to use quickly, efficiently, and with confidence. TABLE OF CONTENTS
Step 1: Read the Installation Instructions Carefully
Before picking up your drill or screwdriver, take the time to thoroughly read the Austral Fold Down Clothesline instruction manual. Familiarising yourself with each step ensures a smoother install and helps you avoid common mistakes.
🔍 Check the box contents to make sure nothing's missing, and gather all required tools before starting. This is your chance to spot any issues before you're halfway through the job.

Step 2: Mark Your Drill Holes Correctly
Use a level to mark your top drill line across the wall where your fold down clothesline will be mounted. Ensure the surface is solid and secure—brick, concrete or a sturdy timber wall is ideal.
Spacing between fixing points varies by model:
| Model | Spacing |
|---|---|
|
Addaline, Standard, Compact, Slenderline 16 |
2400mm |
|
Compact 39, Slenderline 20 |
3300mm |
|
Unit Line |
1300mm |
Mark your top holes around 1850–1900mm above finished ground level, or ~50mm above the user’s head height for comfort.

Step 3: Attach the Clothesline Side Arms
Once you've drilled your holes (using an 8mm masonry bit for brick/concrete), insert any wall plugs and screw in the side arms. Attach the left and right side arms with the pre-assembled parts facing each other.
Don’t fully tighten bolts yet—this gives flexibility for aligning the front bar later.

Step 4: Assemble the Front Bar
Take your Austral Front Bar and insert the Front Spacers into either end of the Joiner Bar (the one with the sticker). Ignore the powder-coating holes—these are not part of the assembly.

Step 5: Shorten Your Clothesline (If Needed)
If your wall space is limited, you can customise the width of your Austral clothesline:
- Measure between your mounting points.
- Subtract from your model’s default width.
- Divide the difference in half and cut this amount from each Spacer Bar.
- Keep the Joiner Bar uncut to maintain central alignment.
Example: If you only have 2100mm space for a 2400mm model, cut 150mm off each Spacer Bar.

Step 6: Installing the Add-A-Line Fold Down Clothesline
For the Austral Add-A-Line model, you’ll be assembling two Front Bars—one for the larger frame and one for the smaller:
- Insert longer Spacer Bars into one Joiner Bar.
- Insert shorter Spacer Bars into the second Joiner Bar.
- Fit each completed Front Bar into its corresponding side arm.
Step 7: Tighten Bolts and Make Adjustments
Now that everything is in position, begin tightening all bolts. Be gentle—overtightening can warp the frame. The sliding brace bolts should be just loose enough to rotate with your fingers. Ensure locking catches move smoothly.

Step 8: Cord the Clothesline
To start cording your single-frame clothesline:
- Fold down the frame to access the Tension Lock.
- Begin threading the cord through the first hole from the outside in.
- Leave 30cm of slack for final tie-off.
For Add-A-Line models, cord the smaller frame first (7 holes), then the larger frame (8 holes). Always work from back to front to maintain tension.

Step 9: Secure and Tighten the Cord
Once all holes are corded, begin tensioning from the back line forward:
- Pull each line tight.
- Use the front Tension Lock to hold the cord firmly in place.
- Finish by wrapping the cord in a “U” shape and secure with a Cord Knob to keep it neat.
Bonus: Professional Clothesline Installation Service
If DIY isn't your thing, don’t worry—we’ve got you covered! Our professional clothesline installation service makes setup effortless. We install across the East Coast of Australia, including:
-
Sydney
-
Melbourne
-
Brisbane
-
Adelaide
-
Geelong
-
Gold Coast
-
Newcastle

Select “Yes, Install My Clothesline” or “Yes, Install and Remove Old Clothesline” when ordering online.
Final Thoughts: Ready to Enjoy Your New Clothesline?
Congratulations—your Austral Fold Down Clothesline is now ready to go! You’ve just boosted your laundry game with a space-saving, eco-friendly drying solution.