How to Restring a Rotary Clothesline: Your Ultimate Step-by-Step Guide
Don’t let a snapped or sagging old line ruin your laundry plans!
With our straightforward guide, you’ll have your clothesline back in action swiftly so you can enjoy the fresh air on your freshly washed clothes.

Whether you’re working with a Hills Folding Rotary or another washing line model, this step-by-step guide will help you tackle the task of replacing your old line with ease.
From the first loop of the first hole to cutting the new cord and pulling the cord tight, we’ll walk you through every step! 
table of contents
What You’ll Need
To restore your rotary clothesline to its prime, gather these essentials:
Replacement Clothesline Cord: when replacing the old line opt for a high-quality cord suited for your clothesline. Brands like Austral, Daytek, or Hills are great.

Scissors or Utility Knife: For cutting the old line and the new line.
Gloves: Protection for hands.
Measuring Tape: To ensure accurate cord length.
Simple Tools: i.e. screwdriver or pliers.
Ladder or Step Stool
Safety Glasses: Keep your eyes safe from debris.
Clear Workspace: Keep your tools and materials organised.
Step-by-Step Guide
Before You Begin
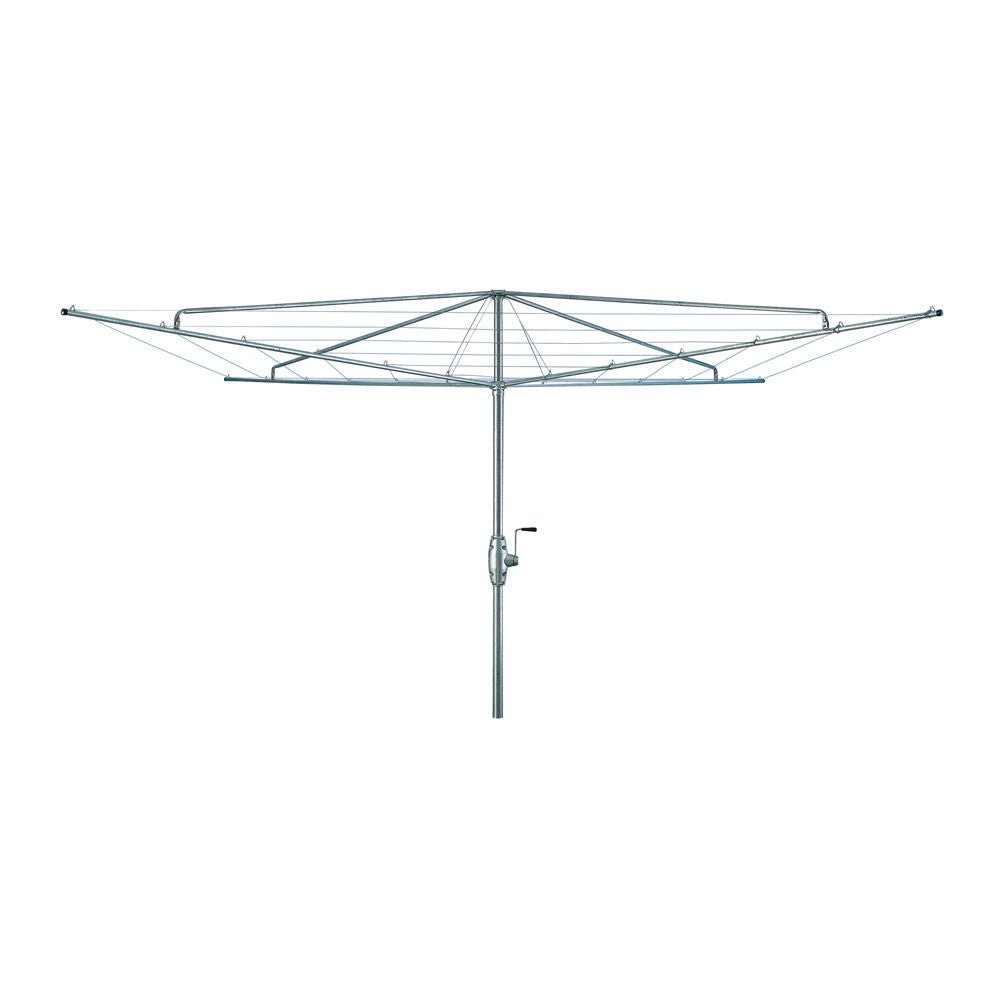
Stand in front of your washing line and examine how the line is threaded through your folding rotary.
Take note of how the washing line is wired before removing the old line as this will streamline the process and make the replacement easier.
Wind UP Your Clothesline
Begin by winding up your rotary clothesline (without any washing on it) and lock into place.

This will give you easier access and a clearer view of the area you'll be working on.
Remove the Line Cover
Next, locate the line cover tensioner arm at one end of the clothesline, this is highlighted by an arrow on the bottom of the arm cross.
This cover protects the tensioner and helps maintain the integrity of the line.
To remove it, grasp it firmly and rotate it anti-clockwise. You may need to apply a little force if it’s stuck due to weathering or dirt.
Once loosened, lift it off and set it aside safely.
Repeat on the Other End
Now, turn your attention to the other end of the line, you will be working between two arms of line and repeat the process by rotating the line cover in the opposite direction (anti-clockwise) until it detaches from the tensioner.

Keeping both covers together will help you remember which parts belong to which side of the clothesline.
Untie the Damaged Cord
With both line covers removed, it's time to address the damaged clothesline cord. Carefully untie the knot or snip the damaged cord from the tensioners.

Take your time during this step to avoid any unnecessary damage to the tensioners themselves.
Remove Remaining Line Segments
Continue to remove the remaining line segments by untying them from their respective tie tensioners.
As you work, it’s helpful to keep track of the order in which you remove the lines. This organisation will make it easier when you go to install the new lines.
Prepare the New Line
Once all old lines are removed, take your new clothesline.
It's advisable to choose a reputable brand such as Hills or Austral as they are durable and weather-resistant, as this will ensure longevity.
Start by pulling one end of the new line through the tensioner on one side of the clothesline.
Loop the Line
After pulling the line through the tensioner, loop it around the back groove of the tensioner.
This loop is essential for providing grip and preventing the line from slipping when under tension. Pull the line tight after looping and wrap it around.
Feed Through the Front Slot
Thread the line up through the front slot of the tensioner. Ensure that it’s passing through correctly so that the rest of it can be secured properly.
Pull the line tight again, ensuring it’s firmly in place.

Trim Excess Line
At this stage, you’ll want to leave about 20mm excess line protruding from the tensioner for adjustment purposes.
Once you've measured and ensured it’s sufficient, use scissors to cut off the remaining excess.
This small allowance helps when you need to remove any slack and retighten and keep your line taut in the future.
Reattach the Line Cover
With the new line secured, it’s time to reattach the line cover. Position it back on the tensioner arm and rotate it clockwise until it’s securely in place.
This cover will protect the tensioner and keep the line properly aligned.
Repeat on the Other Side
Now that one side is complete, turn to the other side of the clothesline and repeat the entire process.
Feed the new line through the tensioner, looping it around the back groove, feeding half of it through the front slot, trimming the excess, and finally reattaching the line cover.
Tension the Line
The final step is to ensure both lines are adequately tensioned. This is essential for optimal functionality.
To do this, gently pull on the lines, from the centre of the rotary outwards, until they feel taut, then make any necessary adjustments at the tensioners.
Test the Line
Hang some damp clothes across the new line to ensure the tension you have set is correct.
A well-tensioned line will allow your clothes, delicates and heavy laundry loads to hang freely without sagging and will help in the drying process.
Adjust as or if required.
Maintenance

Rotary clotheslines need regular checking of the cord’s tension. If the line sags, use the tension lock lever to adjust it. Replacement tie off caps, wire, clips and other replacement parts are available by clicking here.
Key Tips
Periodic Inspections: Check the cord and components regularly.
Adjusting Tension: Keep the line tight by adjusting the tension
Replace Worn Components: Swap out any damaged parts promptly.
Prevent Over-Tightening: Ensure you don’t stretch the cord too much.
Conclusion

By following our detailed guide, you’ve learned how to wind, snip, align, and secure the new cord, making your clothesline as good as new.
If you’re looking to learn more about maintaining or restringing different types of clotheslines, be sure to explore our other articles. They offer valuable tips and tricks for folding frame and wall mounted clotheslines and more.
Keep your laundry days sunny and smooth with a well-maintained clothesline, and don’t hesitate to refer back to this guide whenever you need a refresher. Happy drying!
Free Delivery
At The Clothesline Store, we guarantee the fastest dispatch to ensure the quickest delivery of clotheslines, by operating our own national clothesline warehouse. Don’t take our word for it—check out our Google reviews!
As Australia’s largest private stockholder of clotheslines and accessories, we ship in-stock items the same or next business day. Unlike other retailers who rely on third-party distributors, our dedicated team handles every order directly, ensuring speed and reliability.
With our extensive range of clotheslines stored in our own clothesline warehouse and national centres, we deliver faster and more consistently.
Professional Clothesline Installation Service
Perhaps your clothes line is beyond a mere clothes line replacement and a new washing line is on the cards. If you’re not keen on installing your new clothesline at The Clothesline Store we make the process of clothesline installation incredibly easy, with our professional clothesline installation service that ensures your clothesline is set up effortlessly.
Whether you’re choosing a fold down mounted, retractable, or a folding rotary clothesline our expert installers are ready to help across the East Coast of Australia, including Sydney, Melbourne, Brisbane, Adelaide, and beyond—covering areas like Geelong, the Gold Coast, and Newcastle for all outdoor clothes line installations.
To book your clothesline installation service, simply select "Yes, Install My Clothesline" (or "Yes, Install and Remove Old Clothesline") when placing your order.
Pick your clothesline, choose the clothesline installation option, and you’re on your way to having your new clothesline installed!
Disclaimer
This guide provides general advice on restringing rotary clotheslines. Always consult your clothesline manufacturer’s instructions to avoid voiding warranties, damaging the unit, or creating safety risks. Prioritise safety and adhere to the specific guidelines provided.
Terminology
Restringing other washing lines or clotheslines can also be referred to as clothesline rewire, clothesline restringing, washing line and cord replacement.


