
Do I Need to Cut the Line for Austral Retractable Clothesline?
Quick Answer:
Yes, you usually need to cut the line when setting up the Austral RetractAway retractable clothesline.
Cutting ensures the correct length, tight tension, and secure installation whether you’re mounting it on a wall, post, or into a ground socket.
It’s a simple DIY clothesline task that improves drying performance and prevents sagging under the weight of wet clothes, so here are some tips.
 Table of Contents
Table of Contents
Why Cutting the Line Matters
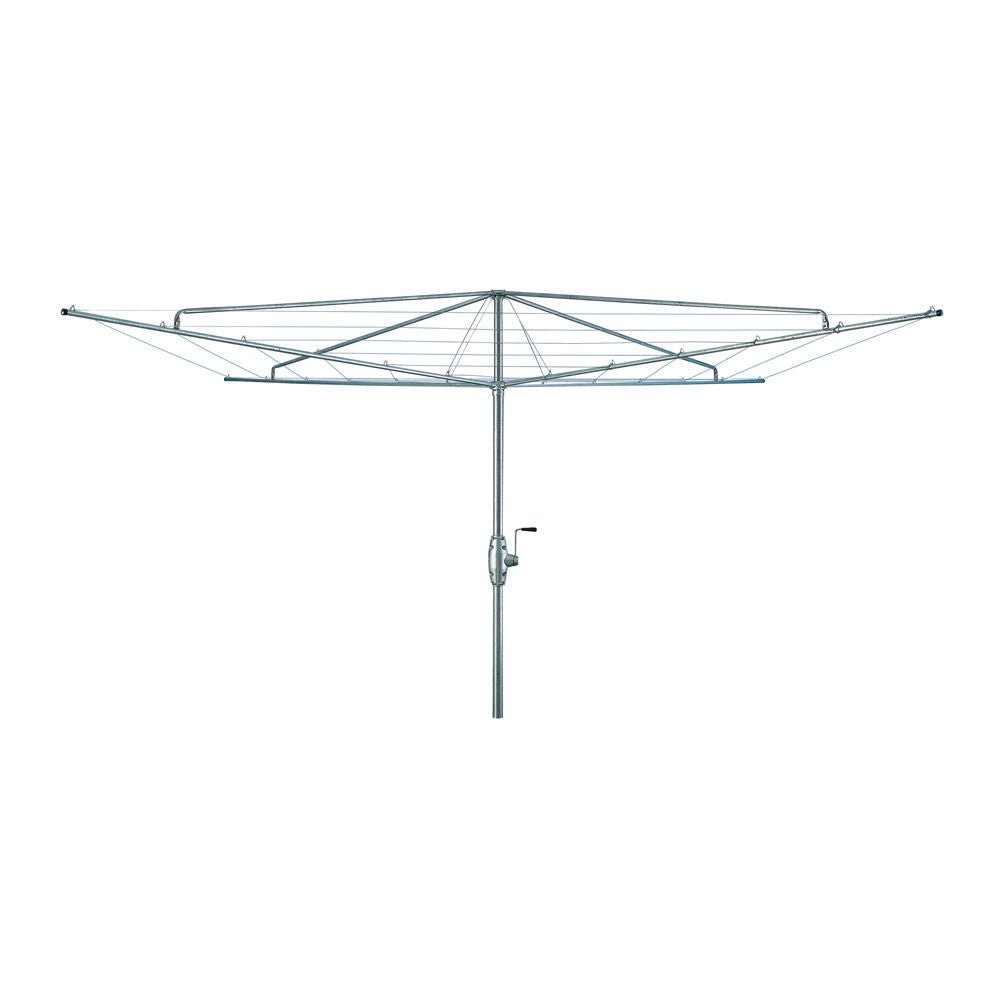
The Austral RetractAway comes with a pre-wound clothesline cord designed to suit different clothesline setups.
Since every laundry room, yard, or indoor installation has a unique layout, trimming the line ensures it fits snugly between two anchor points.
You’ll need to cut the line if:
-
You’re installing between anchor points shorter than 8 metres.
-
One end attaches to a post set in a ground socket while the other attaches to a wall.
-
The surface or location includes obstacles like trees, decking, or uneven concrete.
Leaving the line uncut can cause sagging when wet laundry or wet washing is hung, so trimming is usually the best option.

📄 Austral RetractAway Instructions (PDF)
Step-by-Step: Cutting and Installing the Line
Choose Your Mounting Setup
Austral offers multiple configurations for installing the clothesline:
-
Wall-to-wall – great for laundry rooms or garages.
-
Wall-to-post – versatile for homes with one suitable wall.
-
Post-to-post – perfect for backyards and high traffic areas.
-
Post-to-wall - versatile for homes with one suitable wall.
Each requires two anchor points (like screw hooks or posts fixed in concrete).

If you need posts, dig two holes with a post hole digger and install them using a ground socket for easy removal.
Pull, Tension, and Mark
Before cutting:
-
Fully extend the clothesline to the chosen length.
-
Attach it securely to the other end (post or wall bracket).
-
Adjust by gently pulling until the line is firm and tight.
3. Cut the Line to Fit
Once the correct length and tension are set:
-
Cut and Seal the Line
-
Mark where to trim using a clip or tie.
-
Cut with sharp scissors for a clean edge.
-
Seal the ends (heat for nylon clothesline or tape for cotton clothesline) to prevent fraying.
-
Use supplied screw hooks or clips to tie off the rope inside the mechanism.
-
Test by hanging clothes, ensuring it supports the weight of wet clothes or a full load of laundry.

Do You Always Need to Cut?
Not always. If using the clothesline at its maximum extension (8-10 metres), cutting might not be required.
Still, trimming often improves line space, prevents sagging, and gives a straighter setup for drying clothes.
Pro Tips for a Smooth DIY Clothesline Installation
✅ Use a ground socket if you want removable posts—ideal for folding rotary clothesline setups in high traffic areas.
✅ Don’t install above average height unless you’re drying long clothes. It makes hanging clothes harder.
✅ For outdoor use, check the surface—whether concrete, dirt, or wood decking—to ensure stability.
✅ If you’re unsure, call in experts to professionally install the clothesline in the right location.

Professional Installation Services
The Clothesline Store doesn’t just sell rotary clotheslines, fold-down models, and retractable clotheslines — we also provide expert installation.

Our team will:
-
Dig holes and set posts in concrete.
-
Install using correct anchor points.
-
Ensure your clothesline is tight, level, and ready for immediate use.
This saves time, hassle, and ensures your DIY clothesline setup is durable and suitable for everyday washing and drying clothes.
Why Choose The Clothesline Store?
-
Australia’s largest private stockist of clotheslines.
-
Fast delivery direct from our warehouse.
-
Exclusive warranties on major brands.
-
Thousands of 5-star reviews.

From compact indoor lines for small laundry spaces to large rotary clotheslines that handle queen sheets, we have the right clothesline for your home.
Make the Most of Your Austral RetractAway
With proper setup, the Austral retractable clothesline can help reduce dependency on your clothes dryer, extend the life of your clothes, and even help you with saving money on energy bills.

Whether you're hanging a full load of wet clothes or just a few lightweight shirts, trimming the line is key to ensuring your clothesline lasts for years.
Final Thoughts
So—do you need to cut the line for the Austral retractable clothesline?
In most cases, yes, but it’s a straightforward process that ensures your clothesline is tight, functional, and safe.
Whether you're installing indoors in a laundry room or outside over concrete, adjusting your line length gives you a better setup and maximises your drying space.
Want a clothesline that fits your home perfectly and folds away when not in use? Austral’s RetractAway range makes it easy—even for first-time DIYers!