How to Replace Hills Clothesline Cord: A Comprehensive Step-by-Step Guide
Replacing the cord on your Hills clothesline is an essential maintenance task that ensures its continued performance and longevity.
Over time, the cord can wear out or become damaged, affecting the functionality ensures longevity of your clothesline.
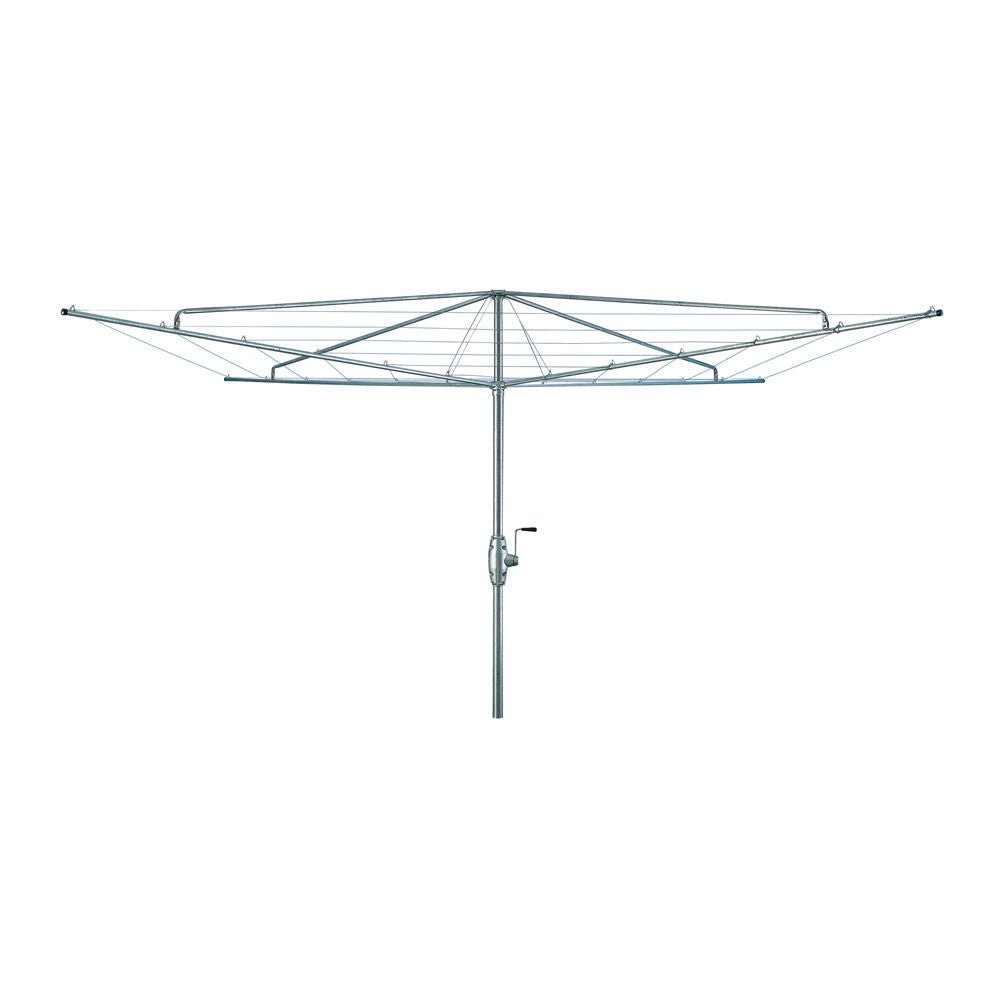
In this guide, we’ll focus on the modern Hills lines - the Folding Rotary Premium 6, 7, and 8 Models, providing you with a thorough step-by-step process to replace your cord effectively.
table of contents
Why Replace Your Clothesline Cord?

Every clothesline cord eventually needs replacing. Regular maintenance is key to keeping your Hills Rotary Clothesline in top shape.
Using a cord that is ideally suited for this job, such as the genuine Hills PVC replacement cord, is essential.
It is weather-resistant, durable, and available in a variety of colours including Woodland Grey, Cottage Green, Surfmist, and Pale Eucalypt.
This ensures that your clothesline not only functions optimally but also looks great in your outdoor space.
Tools & Materials Needed
Before commencing, it's crucial to gather all the necessary tools and materials:
Tools:
-
Pliers: For gripping and adjusting.
-
Scissors: To cut the clothesline cord as needed.
-
Measuring Tape: To ensure accurate length measurements.
-
Step Ladder: To reach higher sections of the clothesline safely.
Materials:
-
New Clothesline Cord: Ideally, use genuine Hills PVC to ensure durability and proper fit.
-
Tension Lock Lever: To help adjust the tension of the new clothesline cord.
-
Clothesline Replacement Pack: In case additional parts are needed.
Removing the Old Cord

Preparation
Observe Wiring:
Before starting, take a close look at how your current line is threaded through the hoist.
This observation will guide you during the reinstallation of the new line and help streamline the process.
Safety First:
Always wear safety glasses to protect your eyes from any debris or plastic components that might snap off during the removal process.
Removing the Old Line
Open and Secure the Hoist:
Carefully open the rotary clothesline and lock it into a stable position (without any washing on it).
This step is crucial to ensure that the clothesline remains steady while you work on the other lines around it.
Remove Line Covers:
Locate the line covers on the tensioners. These covers are typically clipped in place.
Use a lever tool or a similar instrument to gently pry them off without causing damage.
Untie and Discard the Old Line:
Untie the old polycore line from the tensioners and remove. Dispose of the old line and if possible recycle or reuse.
Be sure to keep the line covers as you will need them for the new line.
Repeat for All Line Segments:
If your clothesline has multiple sections, repeat the above steps for each segment to ensure that all old line segments are removed.
Installing the New Line
Replace the New Line
Unroll the cord:
Lay the cord out straight at one end of the clothesline, this will prevent the cord becoming tangled.
Install New Line:
Place a knot approximately 400mm at one end of the cord.
Carefully thread the new line into place, making sure you loop this back under the tensioner lip.
Apply gentle pressure on the line to the bottom left edge to prevent loss of tension reducing slack, pulling tighter if required.
Feed Line Through Arm:
Thread the new line through the central hole of the arm.
Trim any excess cord hanging from the rotary clothesline if necessary, before securing it in place.
Secure Line:
Push the line firmly into the arm to ensure a flush fit. Replace the cover once the line is securely installed.
Thread Line Through Other Arms: Continue threading the new line through each of the other arms until you return to the tensioner arm position
Install Line into Tensioners:
Fit the line into the tensioners in the same manner as the previous sections.
Ensure that each section is properly secured and aligned.
Check and Adjust Tension:
Adjust the tension of the new cord, keeping the line taut, do not permit but not overly tight.
The cord should have a slight flex to ensure proper functioning of the rotary clothesline .
Use a tension lock or tie off manually to fine-tune the tension.
Replace Cover Cap:
Once the line is properly tensioned, replace the cover cap on other end of the tensioner arm to secure the line in place.
Final Check

Fold and Test Hoist:
Fold the Hills Hoist up and down to ensure it operates smoothly.
Check that the rotary clothesline is not over-tensioned and that the lower cross engages properly with the locking collar.
This step ensures that the new line unit is installed correctly and functions as intended.
Additional Tips for Success
Make sure the cord is evenly tensioned across the entire width of the clothesline.
This helps to reduce sag and ensures that the line remains functional and aesthetically pleasing.
Match the Cord:
If using replacement clothesline cord from other brands, ensure it matches the width, weight, and durability of the original cord.
This will help maintain the performance and longevity of your clothesline.
Regular Maintenance:
Regularly inspect your clothesline to check for wear and tear.
Maintaining the correct tension and promptly addressing any issues will extend the life of your clothesline and keep it performing at its best.
A properly maintained clothesline not only performs better but also adds to the overall enjoyment of your outdoor space. Here’s to many successful laundry days ahead, with your Hills clothesline standing up to all the fresh air and sunshine.
Conclusion
Whether your clothesline is the most modern of the Hills rotary clotheslines or a different brand, proper clothesline replacement cord replacement is crucial for reducing line sag and ensuring that all lines are functioning correctly.
By using suitable replacement cords, such as the genuine Hills PVC options, keeping the cord tight and correctly tensioned you guarantee durability and a perfect fit that complements your clotheslines design.
This proactive maintenance not only helps in avoiding issues like line sag and can save you from potential inconvenience down the line with looking at a clothesline replacement.
With the steps outlined in this guide, you can effectively carry out the replacement, ensuring your Hills clothesline remains a reliable and attractive feature in your outdoor space for years to come.
Free Delivery
If it's time to consider purchasing a new clothesline, at The Clothesline Store, we guarantee the fastest dispatch to ensure the quickest delivery of clotheslines, by operating our own national clothesline warehouse. Don’t take our word for it—check out our Google reviews!
As Australia’s largest private stockholder of clotheslines and accessories, we ship in-stock items the same or next business day. Unlike other retailers who rely on third-party distributors, our dedicated team handles every order directly, ensuring speed and reliability.
With our extensive range of clotheslines stored in our own clothesline warehouse and national centres, we deliver faster and more consistently.
Professional Clothesline Installation Service
If you’re not keen on installing your new clothesline at The Clothesline Store we make the process of clothesline installation incredibly easy, with our professional clothesline installation service that ensures your clothesline is set up effortlessly.
Whether you’re choosing a fold down mounted, retractable, or a folding rotary clothesline our expert installers are ready to help across the East Coast of Australia, including Sydney, Melbourne, Brisbane, Adelaide, and beyond—covering areas like Geelong, the Gold Coast, and Newcastle for all outdoor clothes line installations.
To book your clothesline installation service, simply select "Yes, Install My Clothesline" (or "Yes, Install and Remove Old Clothesline") when placing your order.
Pick your clothesline, choose the clothesline installation option, and you’re on your way to having your new clothesline installed!
Disclaimer:
This guide provides general instructions for replacing clothesline cords and may not cover all specific models or situations.
Always consult the manufacturer’s guidelines and seek professional help if needed.


